Tool Checking and correction
Introduction

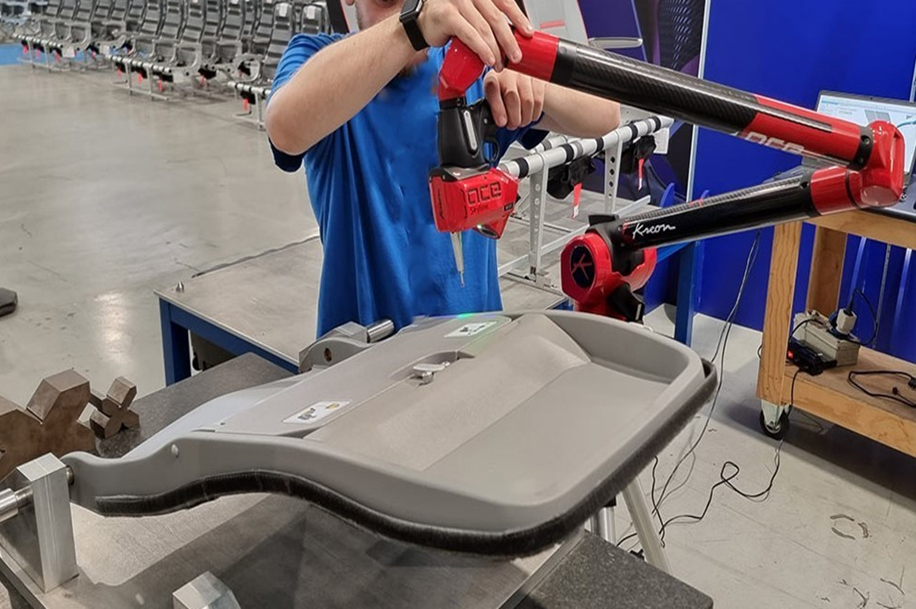
Checking and correction of tooling is a crucial process in tooling development, especially those involved in NPI and product development. Tooling refers to the specialized equipment such as molds, dies, jigs, and fixtures, used in the production of goods. Ensuring the accuracy and functionality of tooling is essential to maintain high-quality output and optimize operational efficiency. One of the primary reasons for checking and correcting tooling is to guarantee the precision and accuracy of the manufactured products. Flawed or improperly functioning tooling can lead to defects, dimensional inaccuracies, and poor-quality output. By conducting regular tool calibration and corrections, manufacturers can identify and rectify any issues with the tooling before they negatively impact production. This ensures that the tooling conforms to the required specifications and can produce parts within the desired tolerances from T1 to end of production stage. When issues are identified during the checking process, corrective measures must be taken promptly. This may involve making adjustments to the tooling components, repairing or replacing damaged parts, or even redesigning certain elements of the tooling. The goal is to eliminate any factors that may compromise the accuracy, functionality, or safety of the tooling. With the aid of advanced technologies, the checking and correction process can be further enhanced, leading to improved performance and competitiveness in the market.

